


Gitlab介绍
GitLab是利用Ruby on Rails一个开源的版本管理系统,实现一个自托管的Git项目仓库,可通过Web界面进行访问公开的或者私人项目。
与Github类似,GitLab能够浏览源代码,管理缺陷和注释。可以管理团队对仓库的访问,它非常易于浏览提交过的版本并提供一个文件历史库。团队成员可以利用内置的简单聊天程序(Wall)进行交流。
它还提供一个代码片段收集功能可以轻松实现代码复用,便于日后有需要的时候进行查找。
本篇教程将教你如何安装部署及使用GitLab
Gitlab的服务构成:
Nginx:静态web服务器。
gitlab-shell:用于处理Git命令和修改authorized keys列表。
gitlab-workhorse: 轻量级的反向代理服务器。
logrotate:日志文件管理工具。
postgresql:数据库。
redis:缓存数据库。
sidekiq:用于在后台执行队列任务(异步执行)。
unicorn:An HTTP server for Rack applications,GitLab Rails应用是托管在这个服务器上面的。

GitLab工作流程
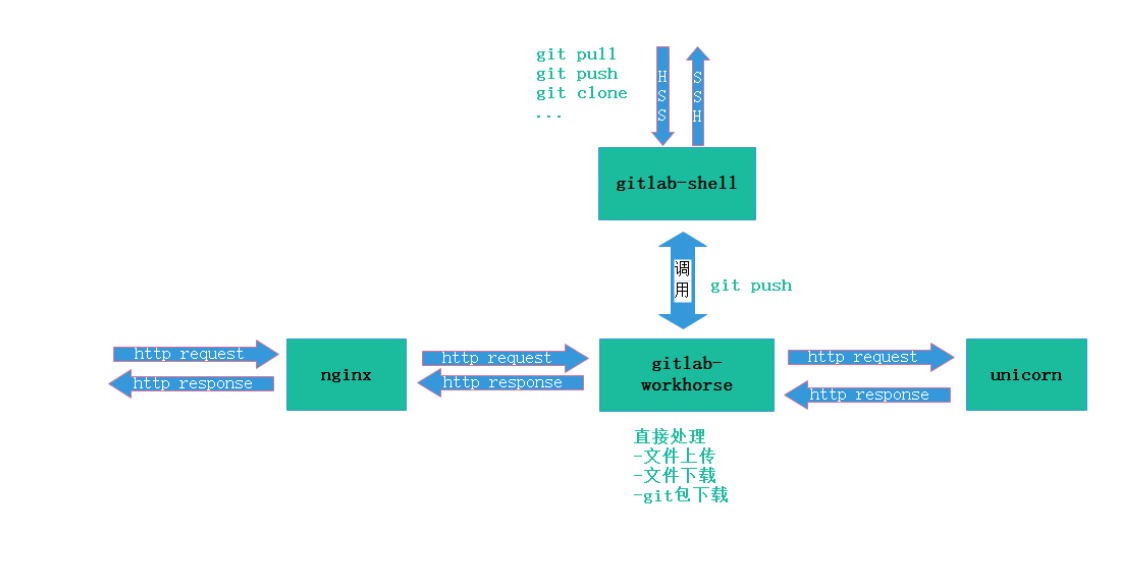
GitLab Shell
GitLab Shell有两个作用:为GitLab处理Git命令、修改authorized keys列表。
当通过SSH访问GitLab Server时,GitLab Shell会:
- 限制执行预定义好的Git命令(git push, git pull, git annex)
- 调用GitLab Rails API 检查权限
- 执行pre-receive钩子(在GitLab企业版中叫做Git钩子)
- 执行你请求的动作 处理GitLab的post-receive动作
- 处理自定义的post-receive动作
当通过http(s)访问GitLab Server时,工作流程取决于你是从Git仓库拉取(pull)代码还是向git仓库推送(push)代码。
如果你是从Git仓库拉取(pull)代码,GitLab Rails应用会全权负责处理用户鉴权和执行Git命令的工作;
如果你是向Git仓库推送(push)代码,GitLab Rails应用既不会进行用户鉴权也不会执行Git命令,它会把以下工作交由GitLab Shell进行处理:
- 调用GitLab Rails API 检查权限
- 执行pre-receive钩子(在GitLab企业版中叫做Git钩子)
- 执行你请求的动作
- 处理GitLab的post-receive动作
- 处理自定义的post-receive动作
GitLab Workhorse
GitLab Workhorse是一个敏捷的反向代理。它会处理一些大的HTTP请求,比如文件上传、文件下载、Git push/pull和Git包下载。其它请求会反向代理到GitLab Rails应用,即反向代理给后端的unicorn。
CentOS中发邮件的服务:
- sendmail
- postfix
- sendEmail
web:
- weblogic
- nginx
- apache
- IIS
gitlab安装配置
配置:最少4G,根据实际情况分配内存
[root@gitlab ~]# yum install -y https://mirrors.tuna.tsinghua.edu.cn/gitlab-ce/yum/el7/gitlab-ce-16.2.4-ce.0.el7.x86_64.rpm

#出现如下界面表示安装成功
-----------------------------------------------------------------------------------------------------
       *.                  *.
      ***                 ***
     *****               *****
    .******             *******
    ********            ********
   ,,,,,,,,,***********,,,,,,,,,
  ,,,,,,,,,,,*********,,,,,,,,,,,
  .,,,,,,,,,,,*******,,,,,,,,,,,,
      ,,,,,,,,,*****,,,,,,,,,.
         ,,,,,,,****,,,,,,
            .,,,***,,,,
                ,*,.

     _______ __  __          __
    / ____(_) /_/ /   ____ _/ /_
   / / __/ / __/ /   / __ `/ __ \
  / /_/ / / /_/ /___/ /_/ / /_/ /
  \____/_/\__/_____/\__,_/_.___/

Thank you for installing GitLab!
GitLab was unable to detect a valid hostname for your instance.
Please configure a URL for your GitLab instance by setting `external_url`
configuration in /etc/gitlab/gitlab.rb file.
Then, you can start your GitLab instance by running the following command:
  sudo gitlab-ctl reconfigure

For a comprehensive list of configuration options please see the Omnibus GitLab readme
https://gitlab.com/gitlab-org/omnibus-gitlab/blob/master/README.md

Help us improve the installation experience, let us know how we did with a 1 minute survey:
https://gitlab.fra1.qualtrics.com/jfe/form/SV_6kVqZANThUQ1bZb?installation=omnibus&release=16-2
-----------------------------------------------------------------------------------------------------
## 修改邮箱配置文件   //根据实际情况更改邮箱和密码,邮箱密码网页生成授权码即可
-----------------------------------------------------------------------------------------------------
[root@zabbix01 ~]# vim /etc/gitlab/gitlab.rb
### Email Settings
gitlab_rails['gitlab_email_enabled'] = true
gitlab_rails['gitlab_email_from'] = '253097001@qq.com'
gitlab_rails['gitlab_email_display_name'] = 'zls gitlab notice'
## 邮件发送配置(类似于mail.rc中的配置)
gitlab_rails['smtp_enable'] = true
gitlab_rails['smtp_address'] = "smtp.qq.com"
gitlab_rails['smtp_port'] = 465
gitlab_rails['smtp_user_name'] = "253097001@qq.com"
gitlab_rails['smtp_password'] = "passwordpasswd"    //
gitlab_rails['smtp_domain'] = "qq.com"
gitlab_rails['smtp_authentication'] = "login"
gitlab_rails['smtp_enable_starttls_auto'] = false
gitlab_rails['smtp_tls'] = true
# 优化
## 关闭普罗米修斯
prometheus['enable'] = false
prometheus['monitor_kubernetes'] = false
prometheus_monitoring['enable'] = false
## 告警关闭
alertmanager['enable'] = false
## 关闭前端node功能
node_exporter['enable'] = false
## 关闭redis功能
redis_exporter['enable'] = false
## 关闭postgre功能
postgres_exporter['enable'] = false
## 图形展示
grafana['enable'] = false
-----------------------------------------------------------------------------------------------------
external_url 'http://gitlab.driverzeng.com'      //32行,根据情况修为为真实域名
# 启动gitlab  //重新加载读取配置文件,每一次更改/etc/gitlab/gitlab.rb 都需要执行以下命令
[root@gitlab ~]# gitlab-ctl reconfigure
[root@gitlab ~]# gitlab-ctl status
run: gitaly: (pid 16981) 18043s; run: log: (pid 15983) 18456s
run: gitlab-kas: (pid 16857) 18052s; run: log: (pid 16192) 18419s
run: gitlab-workhorse: (pid 16869) 18051s; run: log: (pid 16416) 18274s
run: logrotate: (pid 35728) 471s; run: log: (pid 15919) 18470s
run: nginx: (pid 16439) 18266s; run: log: (pid 16450) 18263s
run: postgresql: (pid 16039) 18433s; run: log: (pid 16059) 18429s
run: puma: (pid 20105) 15821s; run: log: (pid 16347) 18298s
run: redis: (pid 15940) 18465s; run: log: (pid 15949) 18464s
run: sidekiq: (pid 20070) 15830s; run: log: (pid 16372) 18286s
#在启动服务后,结尾会给出密码文件路径
[root@gitlab ~]# cat /etc/gitlab/initial_root_password
# WARNING: This value is valid only in the following conditions
# 1. If provided manually (either via `GITLAB_ROOT_PASSWORD` environment variable or via `gitlab_rails['initial_root_password']` setting in `gitlab.rb`, it was provided before database was seeded for the first time (usually, the first reconfigure run).
# 2. Password hasn't been changed manually, either via UI or via command line.
#
# If the password shown here doesn't work, you must reset the admin password following https://docs.gitlab.com/ee/security/reset_user_password.html#reset-your-root-password.
Password: Vkc6K9eUfur1q4E+sIo+qgqXlX8QOAkzIS0Z19LHRfI=
# NOTE: This file will be automatically deleted in the first reconfigure run after 24 hours.
#默认用户密码
root
Vkc6K9eUfur1q4E+sIo+qgqXlX8QOAkzIS0Z19LHRfI=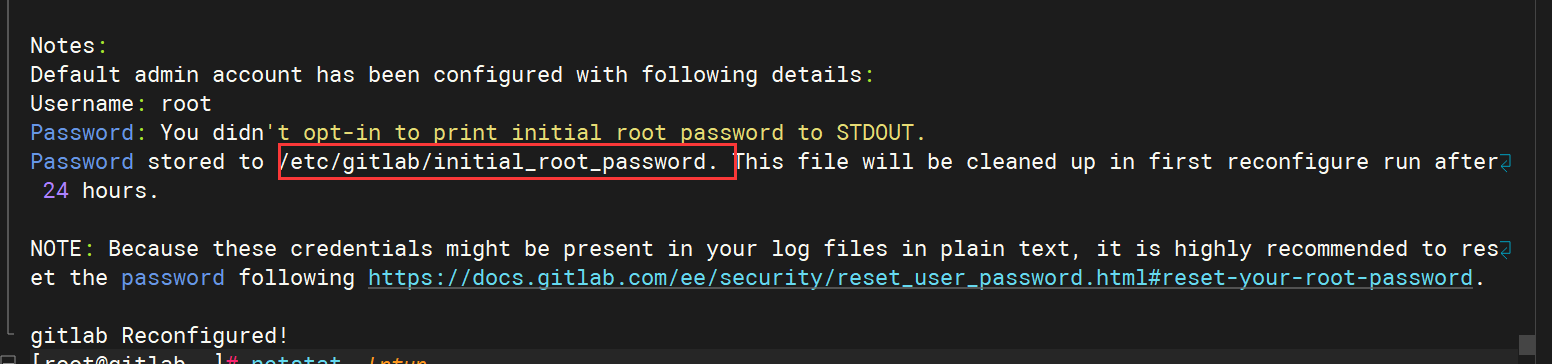
gitlab命令使用
## 重启服务
[root@gitlab ~]# gitlab-ctl restart
## 重启指定服务
[root@gitlab ~]# gitlab-ctl restart nginx
[root@gitlab ~]# gitlab-ctl start nginx
[root@gitlab ~]# gitlab-ctl stop nginx
## 查看指定服务日志
[root@gitlab ~]# gitlab-ctl tail nginx
#查看所有日志
[root@gitlab ~]# gitlab-ctl tail
## Json格式查看所有配置
[root@zabbix01 ~]# gitlab-ctl show-config
## 查看所有启动的服务
[root@zabbix01 ~]# gitlab-ctl service-list
gitaly*
gitlab-workhorse*
logrotate*
nginx*
postgresql*
redis*
sidekiq*
unicorn*
## 发送邮件测试
#进入gitlab shell
[root@gitlab ~]#  gitlab-rails console
--------------------------------------------------------------------------------
 Ruby:         ruby 3.0.6p216 (2023-03-30 revision 23a532679b) [x86_64-linux]
 GitLab:       16.2.4 (deac0811459) FOSS
 GitLab Shell: 14.23.0
 PostgreSQL:   13.11
------------------------------------------------------------[ booted in 78.09s ]
Loading production environment (Rails 7.0.6)
irb(main):001:0> Notify.test_email('your_email','gitlab test','测试').deliver_now
#忘记root密码如何恢复?
1.进入gitlab shell
gitlab-rails console
2.## 查询id为1的用户
irb(main):002:0> User.where(id: 1).first
=> #<User id:1 @root>
3.设置用户变量
irb(main):022:0> user = User.where(id:1).first
=> #<User id:1 @root>
4.新建密码  //推挤密码长度八位数+字母多个组合
irb(main):023:0> user.password = '125843qjj'
=> "125843qjj"
5.确认密码
irb(main):024:0> user.password_confirmation = '125843qjj'
=> "125843qjj"
6.保存
irb(main):025:0> user.save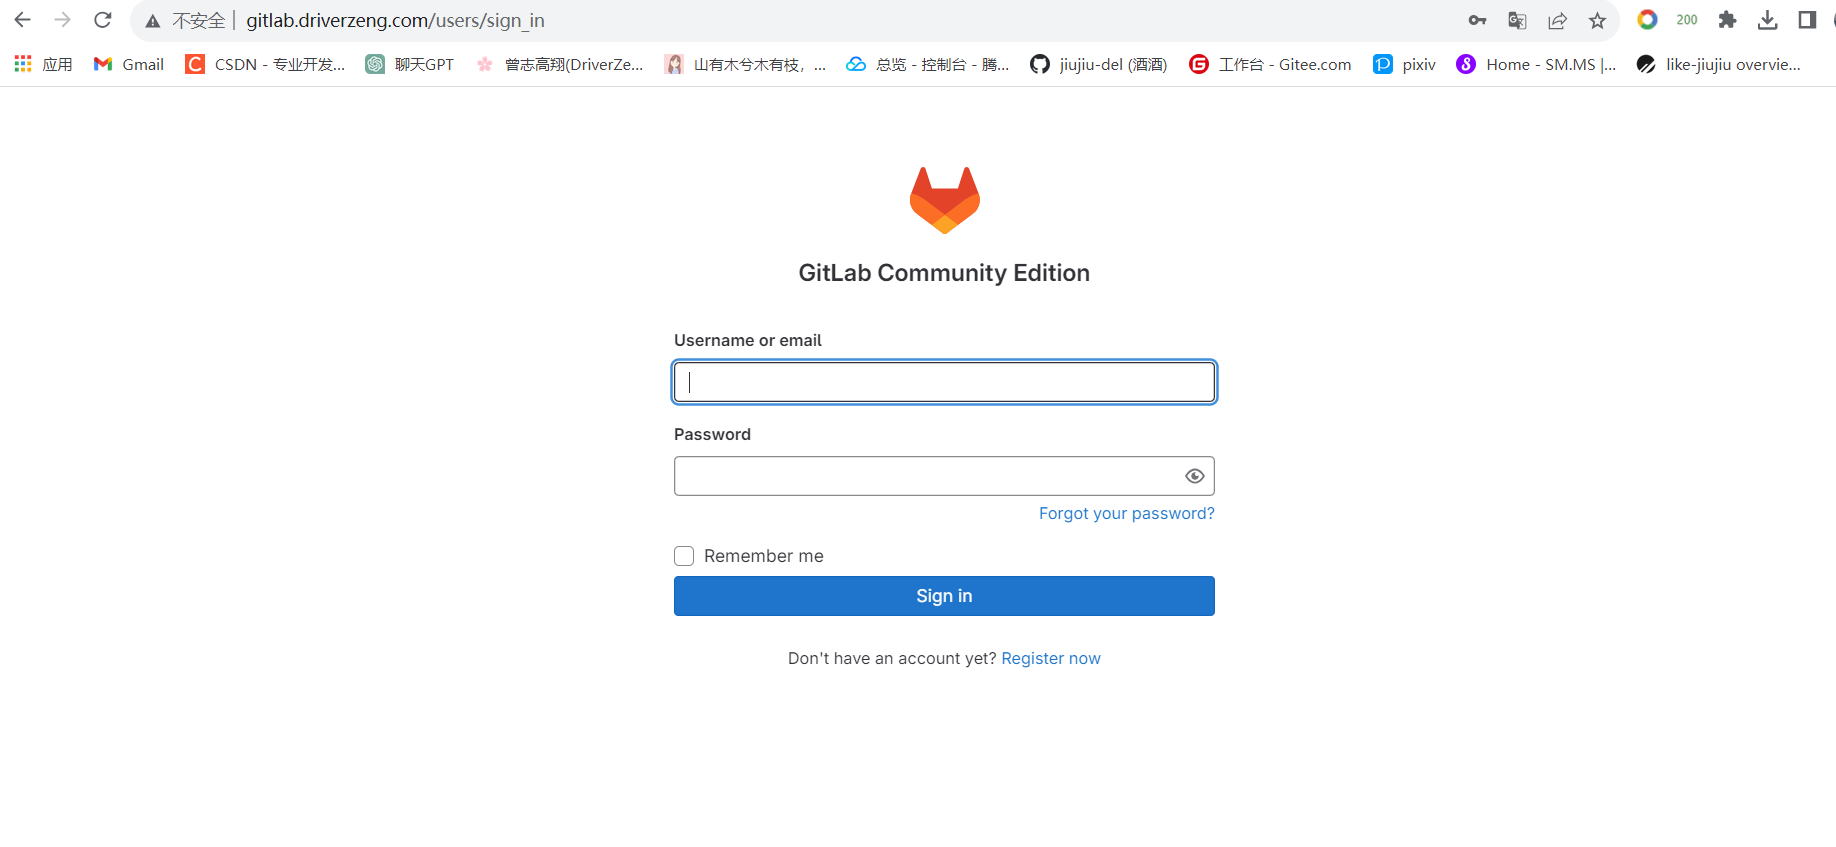
=> true打开浏览器访问:http://gitlab.driverzeng.com/
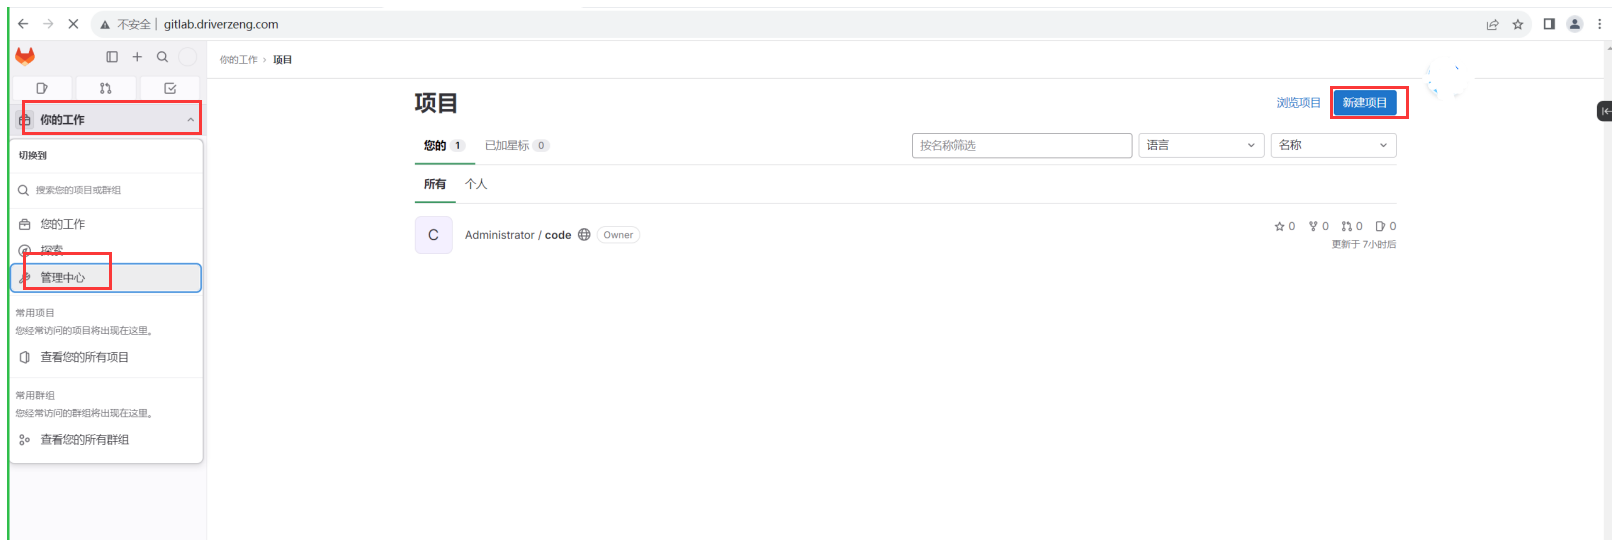
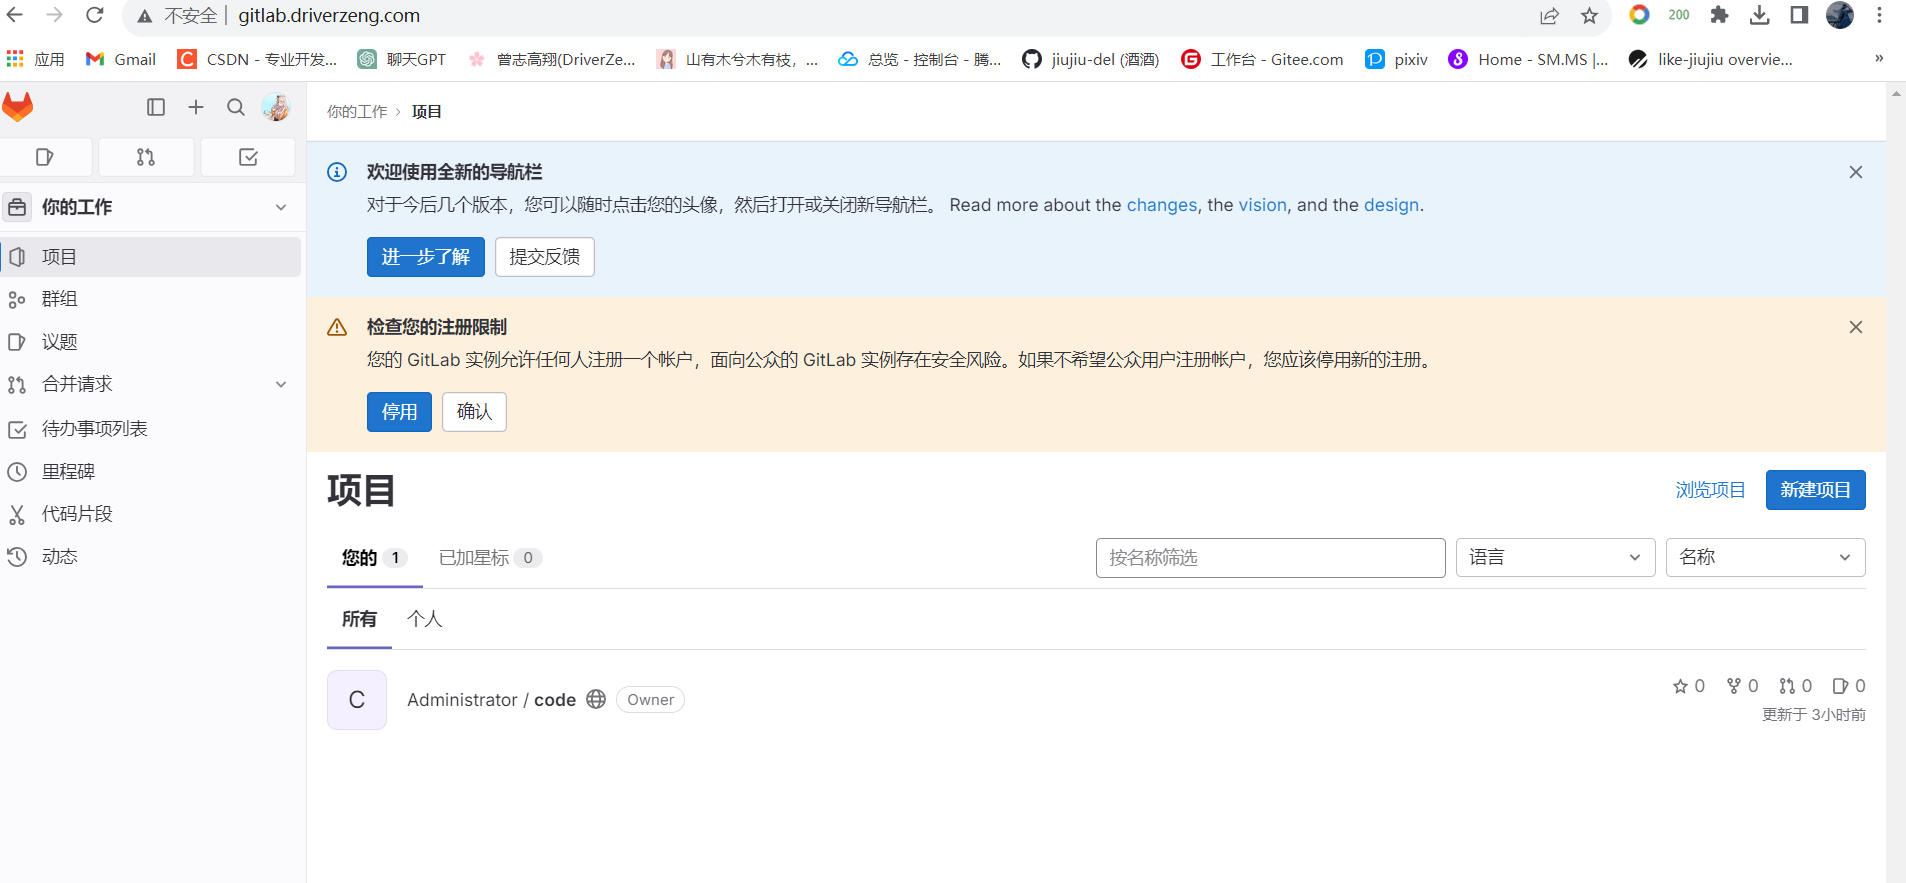
Gitlab创建
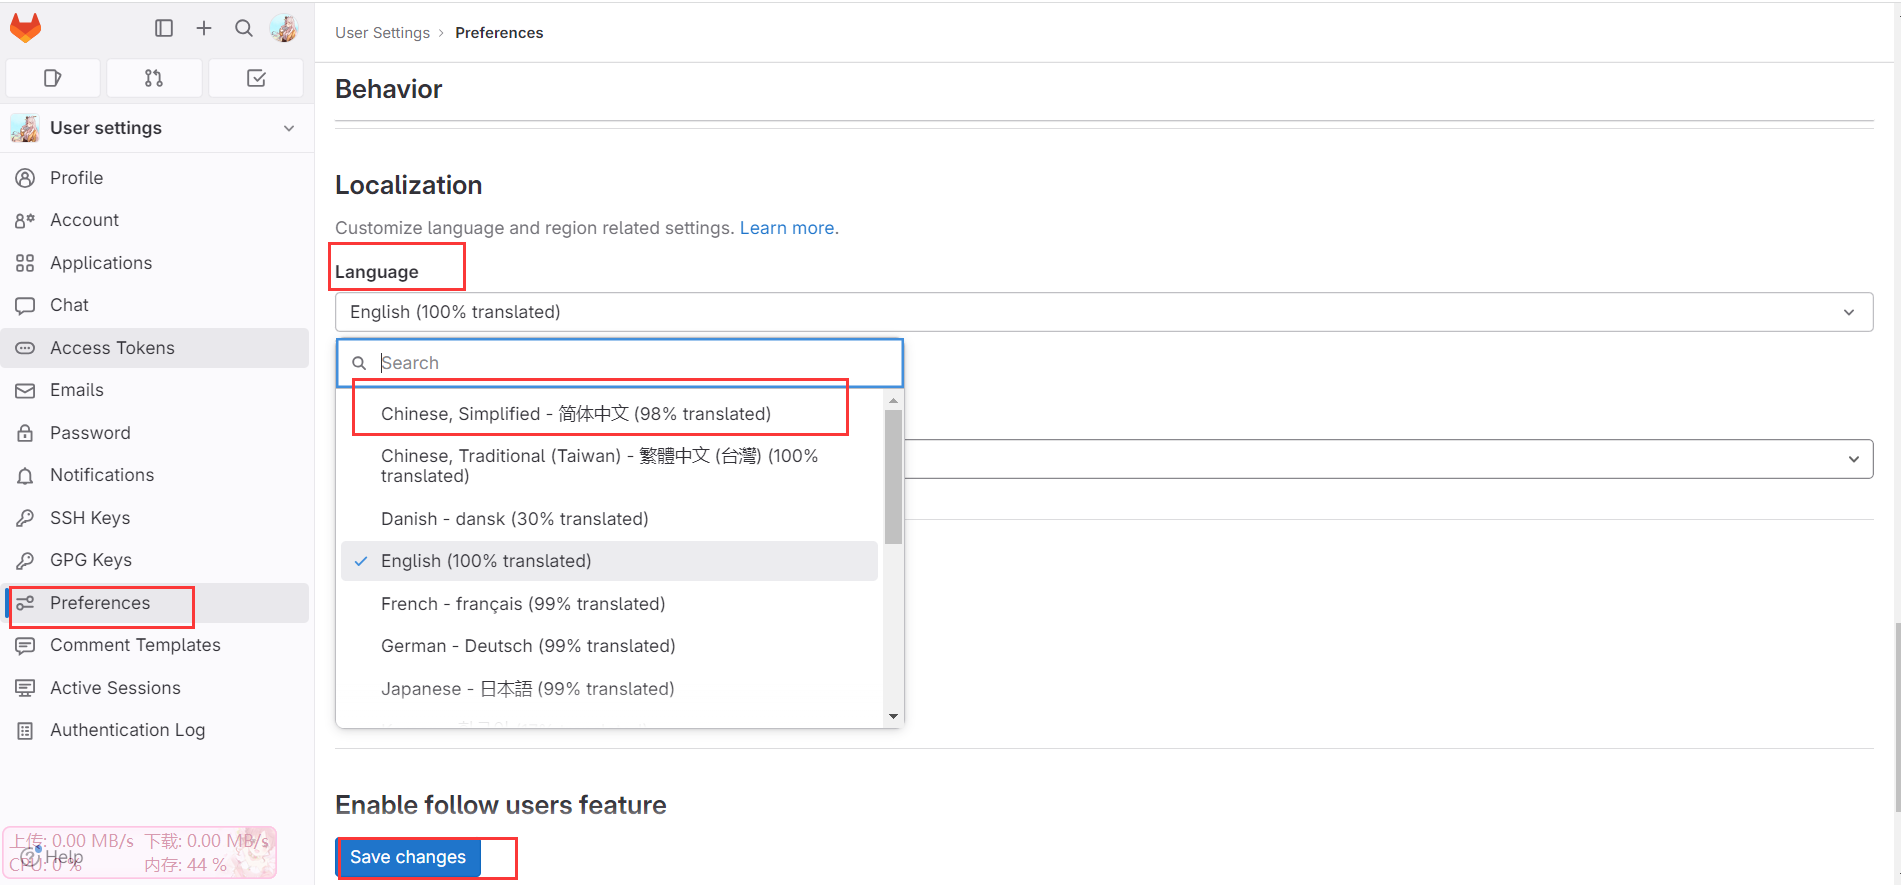
汉化:

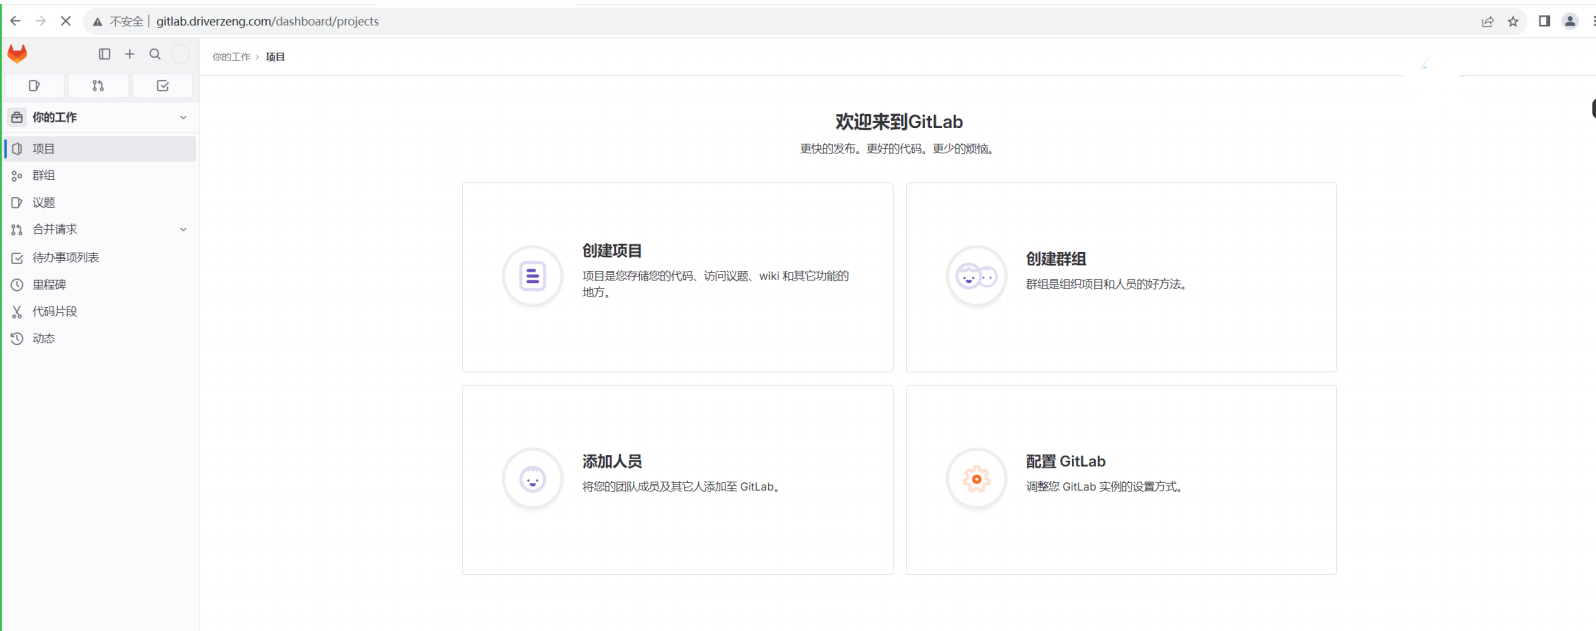
项目创建
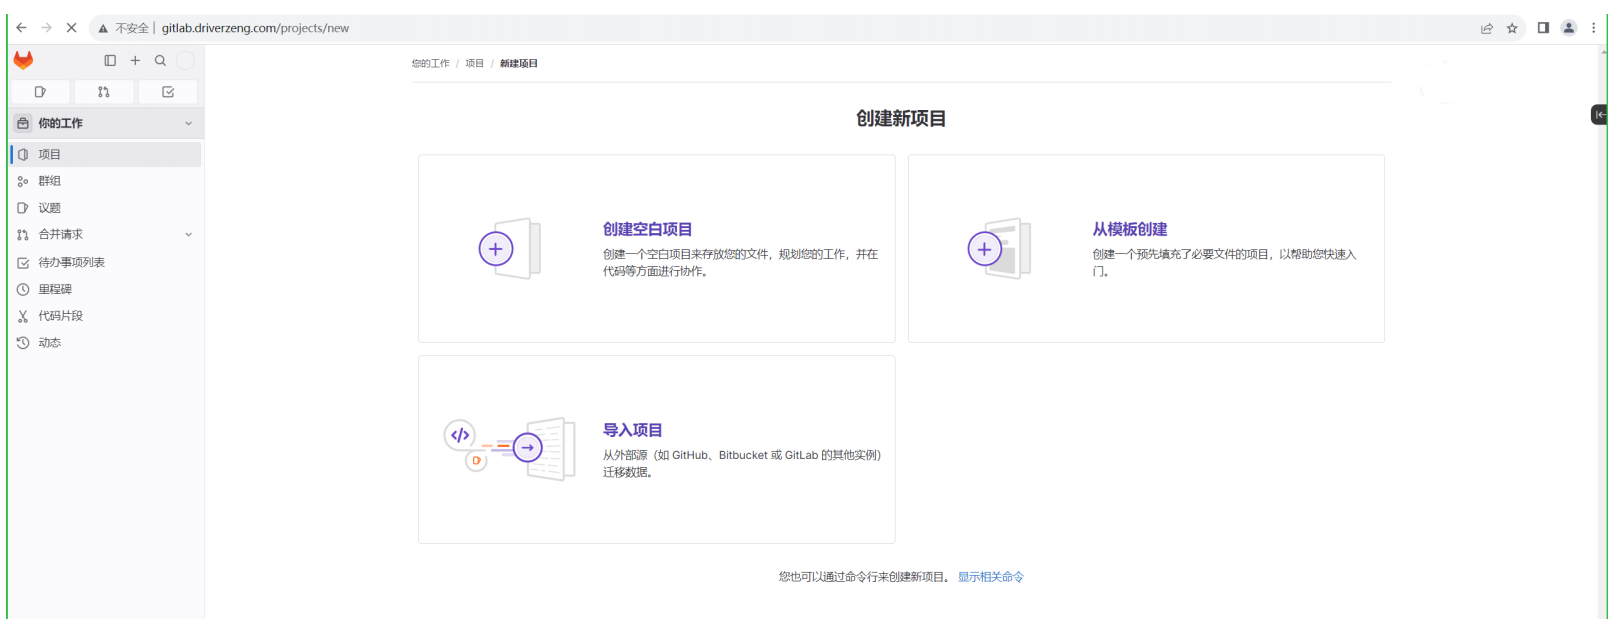

命令行指引
您还可以按照以下说明从计算机中上传现有文件。  //默认http格式,选择克隆-----> ssh克隆 ,然后更换如下为git方式
-----------------------------------------------------------------------------------------------------
# 创建一个新仓库
git clone http://gitlab.driverzeng.com/root/code.git
cd code
git switch --create main
touch README.md
git add README.md
git commit -m "add README"
git push --set-upstream origin main
推送现有文件夹
cd existing_folder
git init --initial-branch=main
git remote add origin http://gitlab.driverzeng.com/root/code.git
git add .
git commit -m "Initial commit"
git push --set-upstream origin main
推送现有的 Git 仓库
cd existing_repo
git remote rename origin old-origin
git remote add origin http://gitlab.driverzeng.com/root/code.git
git push --set-upstream origin --all
git push --set-upstream origin --tags
--------------------------------------------------------------------------------------------------
#初始化仓库
[root@gitlab code]# git init .
## Git 全局设置 (收件箱)
[root@gitlab code]# git config --global user.name "Administrator"
[root@gitlab code]# git config --global user.email "133411023@qq.com"
#添加远端仓库url
[root@gitlab code]# git  remote add origin git@gitlab.driverzeng.com:root/code.git
#推送代码  //前决条件已配置ssh密钥
[root@gitlab code]#  git push --set-upstream origin --all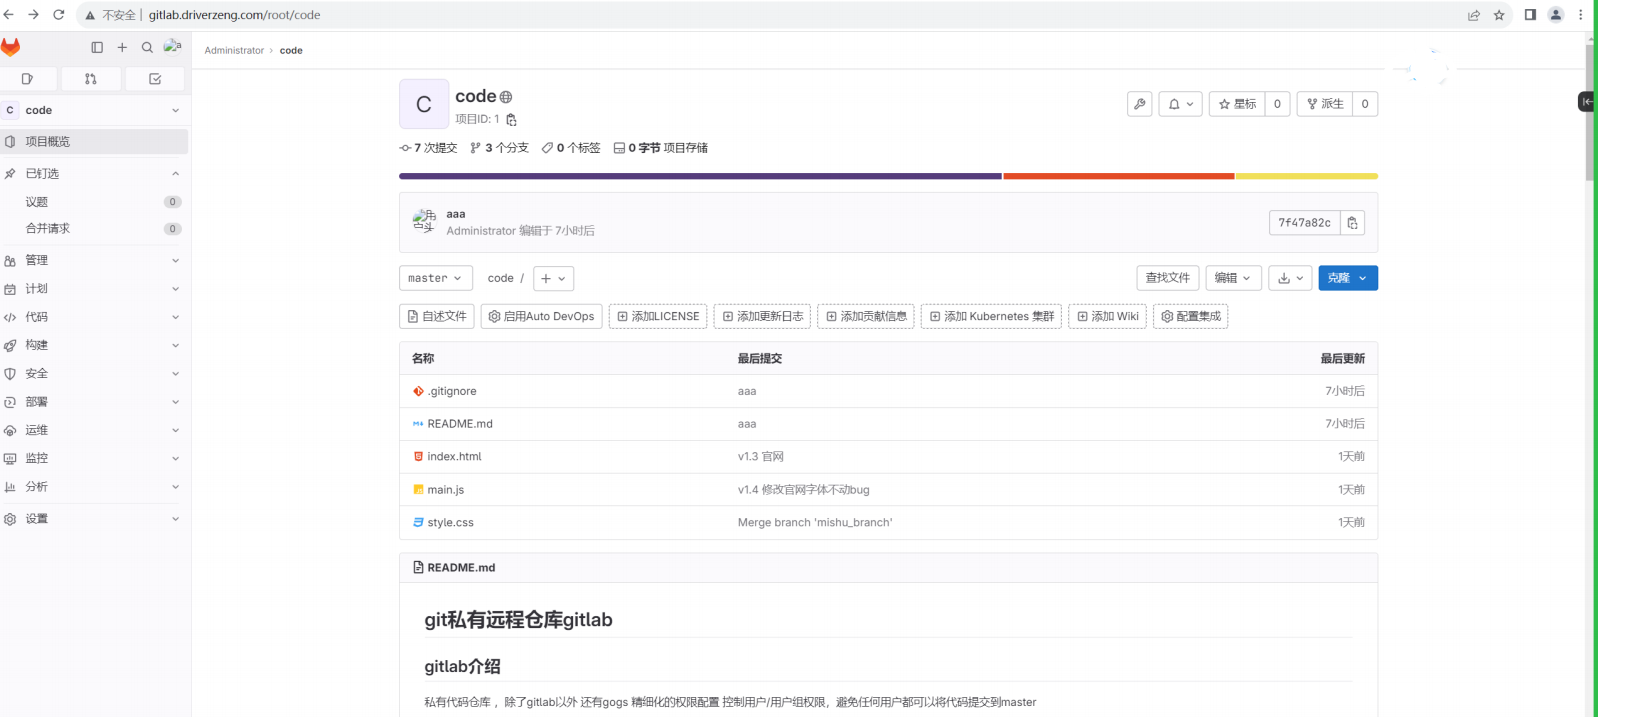
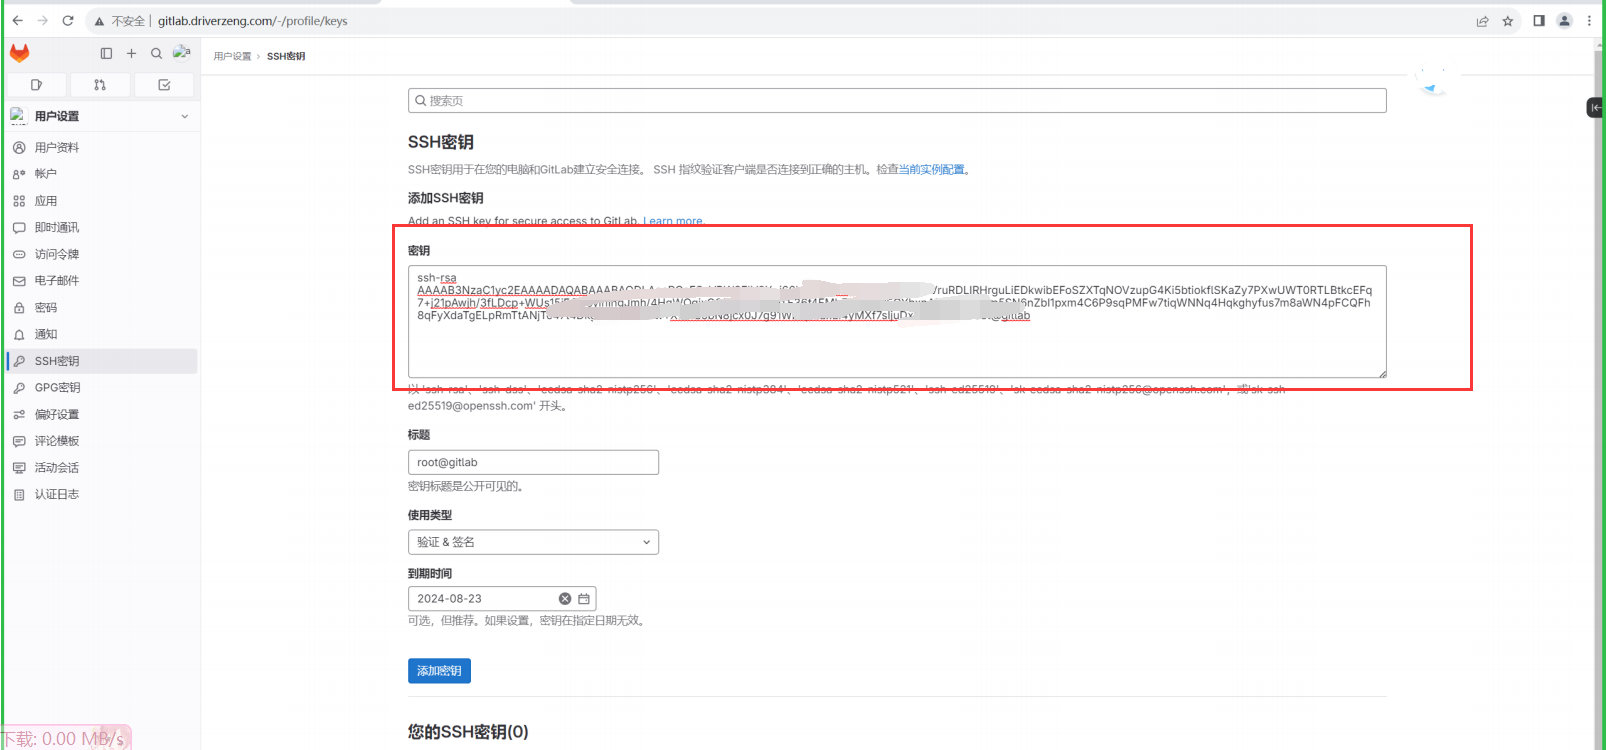
SSH配置
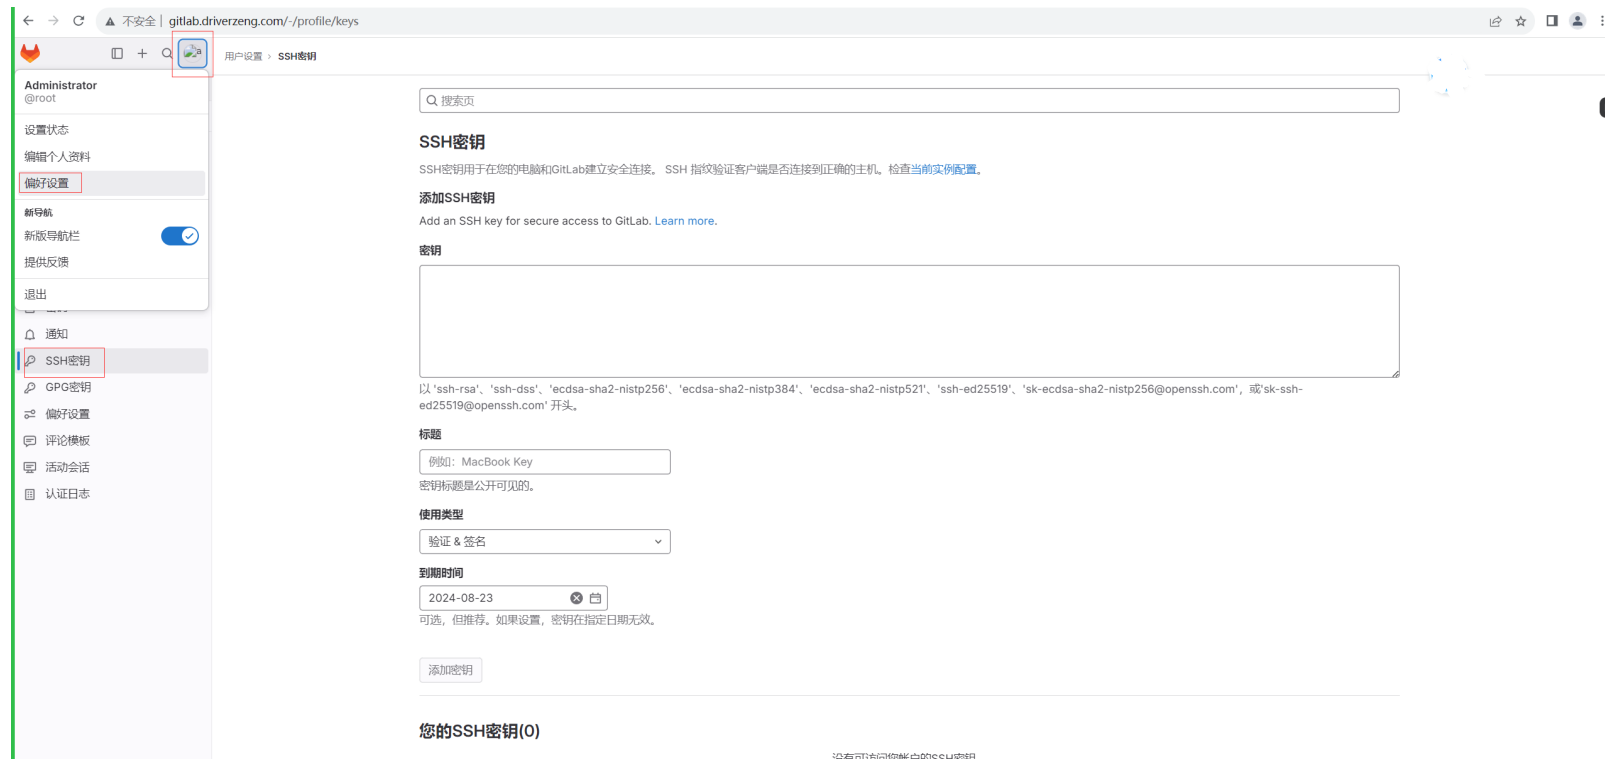
配置ssh秘钥(谁想提交代码或者拉取代码,谁就要把公钥放到git仓库)
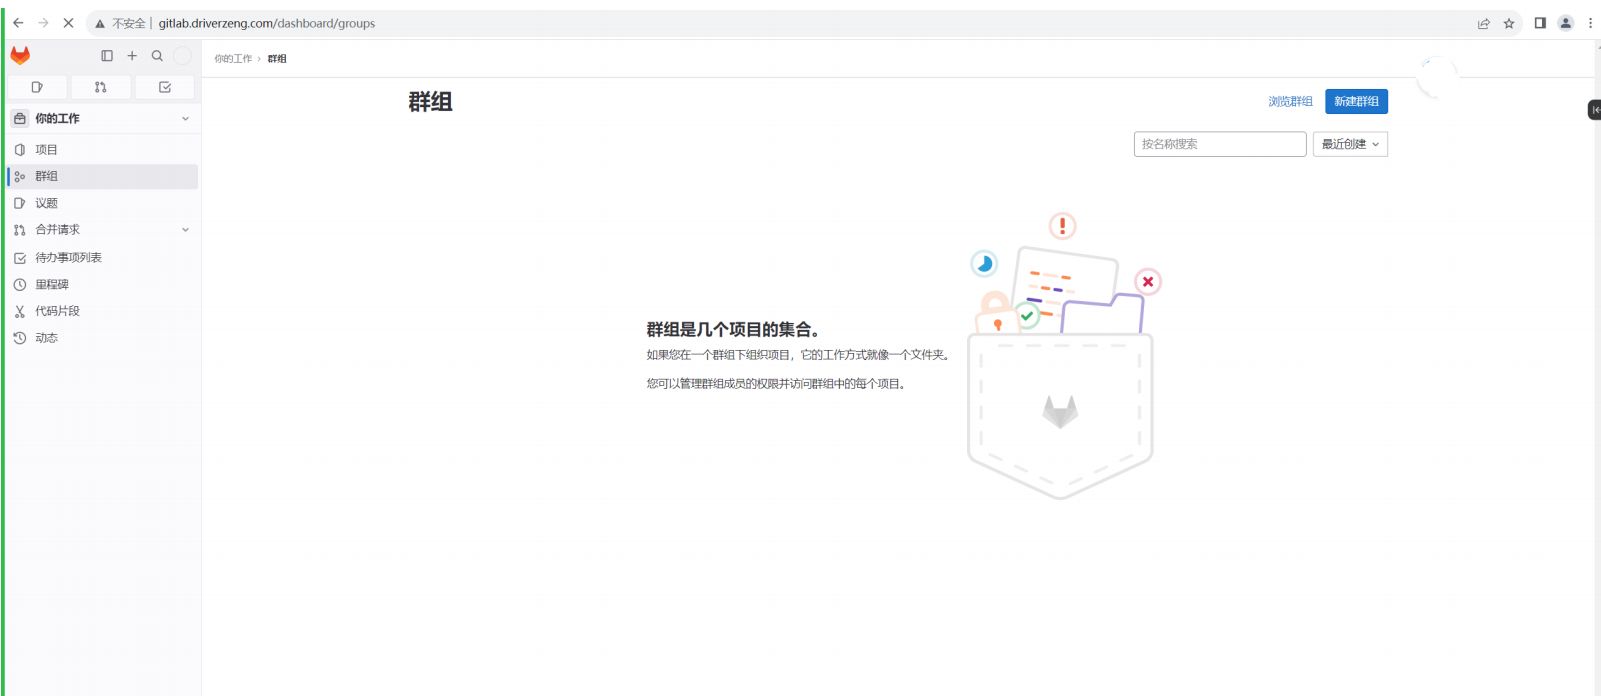
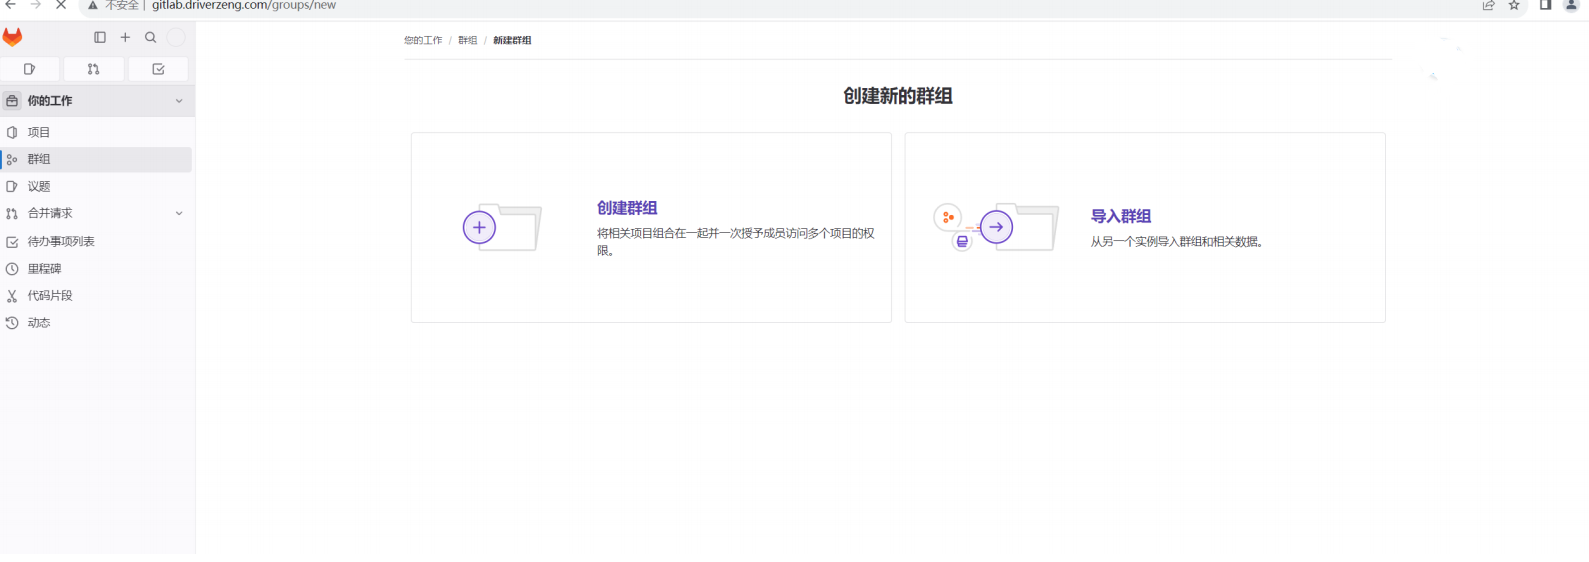
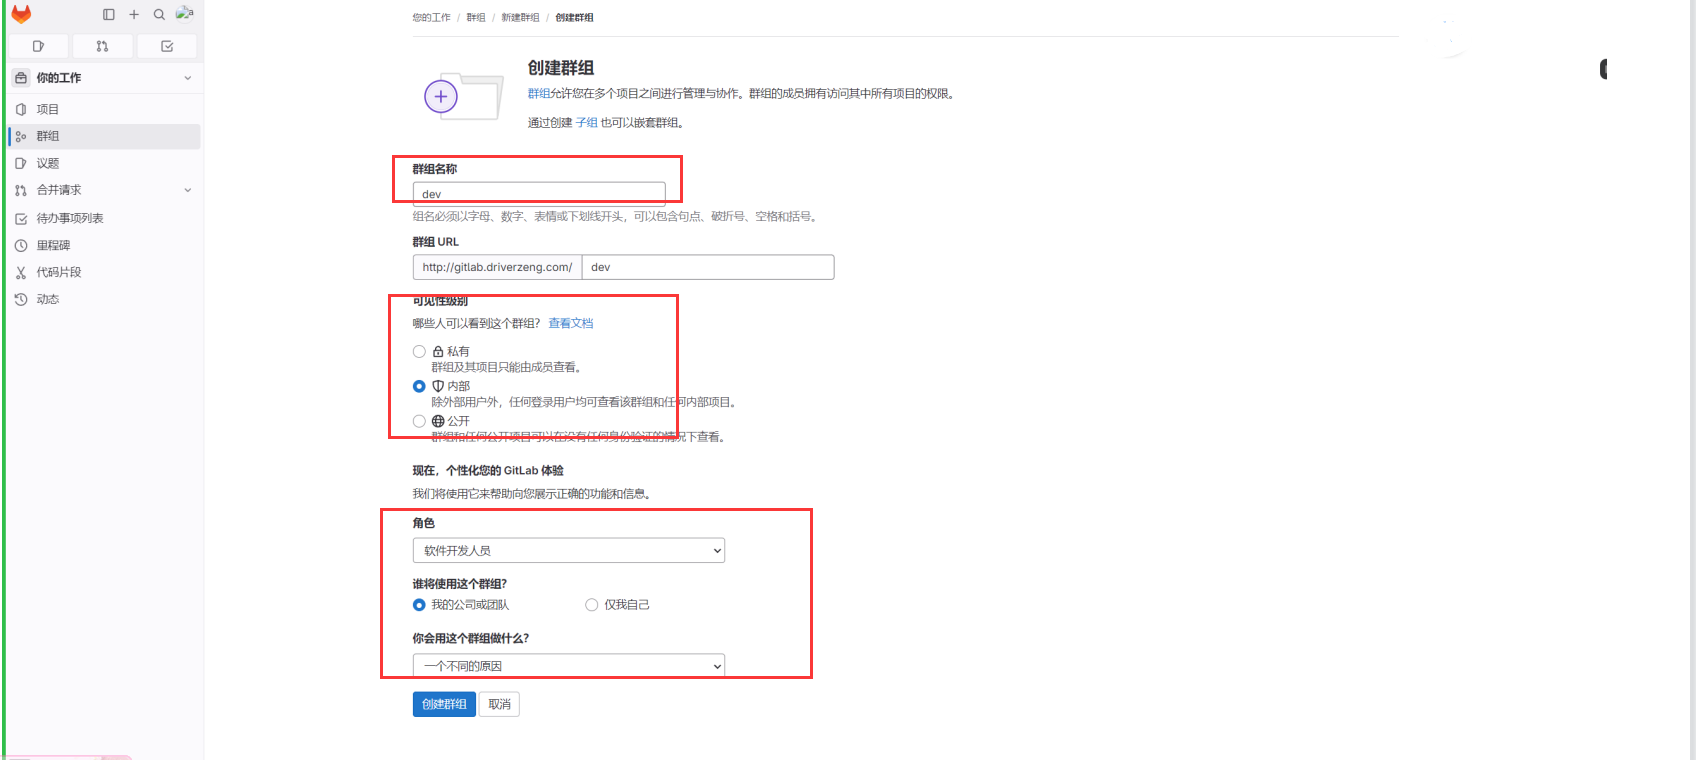
创建群组
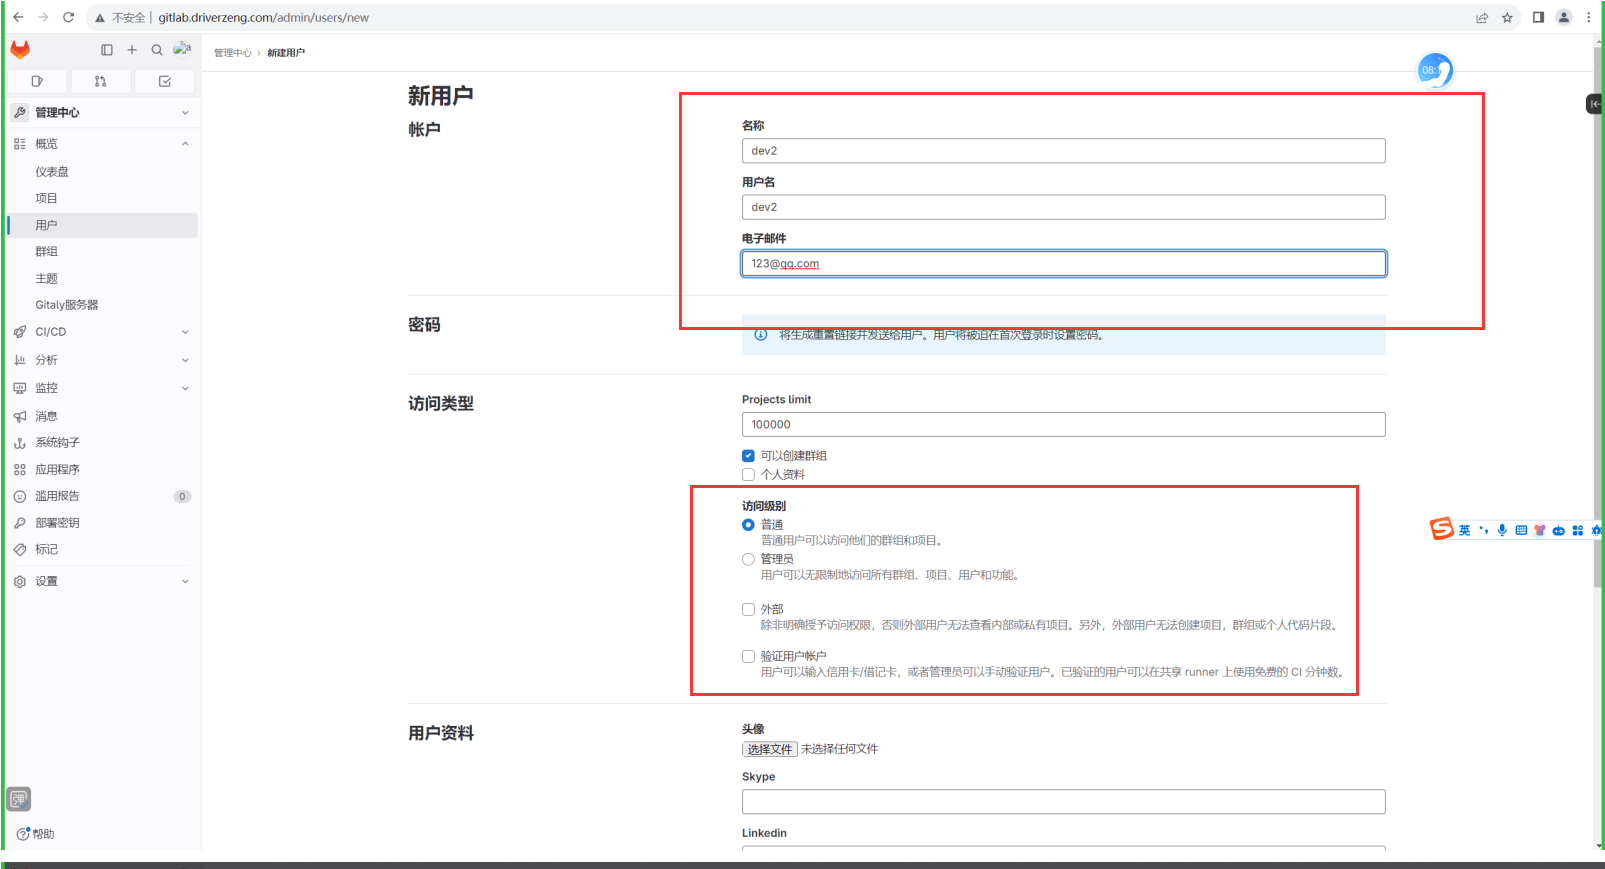
创建用户